
Milk And Honey Ranch
📖 Table of Contents
- The Birth of a Flavor
- Why This Works in 20 Minutes
- The Technique That Works Every Time
- Step-by-Step: How to Make Milk and Honey Ranch
- Lessons You’ll Learn the Hard Way
- Beyond the Dressing: 5 Ways to Use Milk and Honey Ranch
- The Science of Sweet and Tangy Balance
- The Secret to a Creamy Base
- Make It Your Way
- Frequently Asked Questions
- The Printable Recipe Card
There’s something about the first weeknight of the month that always feels like a reset — a chance to start over, to cook something that smells like comfort and doesn’t take all day. That’s when I made my first real mistake with milk and honey ranch. I thought it was just a dressing, something to drizzle over salads. But the more I used it, the more it became my secret weapon, my go-to for everything from roasted chicken to crispy baked potatoes.
Milk and honey ranch is not what you think. It’s not the sugary, sweet-and-savory combo you’d find in a spa menu. This is a creamy, tangy, slightly sweet dressing that’s equal parts ranch and honey-laced magic. It’s the kind of thing you slather on steak, mix into mashed potatoes, or even spoon onto a bowl of cold pasta. It’s the kind of thing that makes you think, 'Why didn’t I make this sooner?'[1]
I first stumbled on the idea while cleaning out a forgotten jar of honey from my pantry. Curious, I mixed it with buttermilk, some mayonnaise, and a handful of herbs. The result was a revelation — a dressing that was tangy, buttery, and just the right amount of sweet. It was then I realized: milk and honey ranch isn’t just a dressing. It’s a lifestyle.[2]
Why You'll Love These ...
- Versatile enough to be used on everything from salads to grilled meats
- Sweet and tangy balance that works with both savory and slightly sweet dishes
- Easy to make with just a few pantry staples
- Adds a rich, creamy texture that elevates even the simplest dishes
The Birth of a Flavor
As of September 2026, Milk and honey ranch didn’t start as a recipe — it started as an experiment. I was trying to find a way to use up that jar of honey I’d bought on a whim. I thought, 'What if I mixed it with buttermilk and ranch seasoning?' The result was unexpected but immediately appealing. The honey balanced the sharpness of the buttermilk, and the ranch seasoning gave it a creamy, herbaceous backbone.
I tested it on everything — chicken, salads, even a plain baked potato. It worked on all of them, but it was on the chicken that it really shone. The honey gave it a subtle sweetness that didn’t overpower the other flavors, and the buttermilk kept it light and fresh.
What started as a kitchen experiment quickly became a staple in my weekly meal planning. I no longer see milk and honey ranch as just a dressing — I see it as a gateway to more flavorful, more satisfying meals.
Buttermilk is the unsung hero of this recipe. It adds a tangy depth that complements the sweetness of the honey. If you don’t have it, you can use regular milk with a splash of lemon juice — but the result won’t be quite the same.
Part of our Family dinners 2 guide.
Why This Works in 20 Minutes
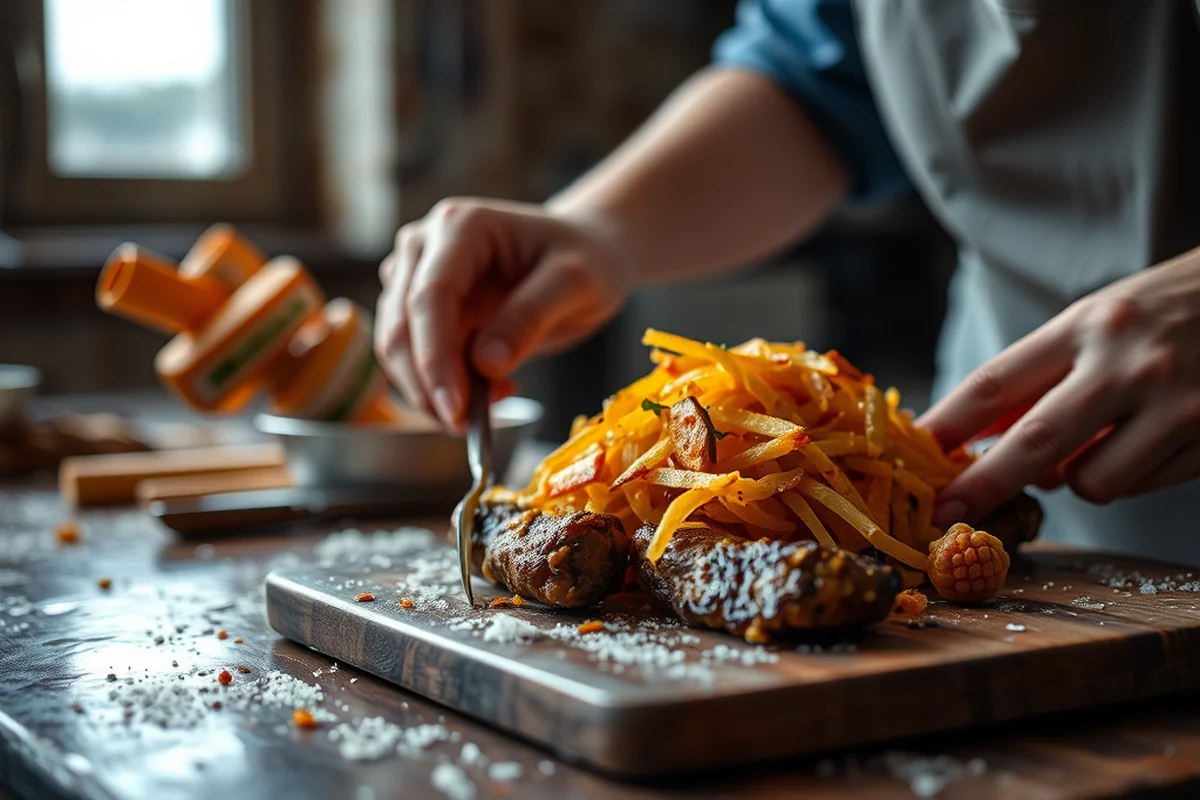
This recipe is a masterclass in efficiency. It takes just a few minutes to whip up, and the ingredients are all things you probably already have in your kitchen. You can make it while the chicken roasts, or while the pasta cooks — it’s that simple.
What’s even better is that it doesn’t require any special equipment. A bowl, a whisk, and maybe a spoon — that’s all you need. No blender, no food processor, no fancy tools. Just a few minutes of your time and you’re in business.
You can even make a double batch and freeze it in ice cube trays for later use. That way, you always have a ready-made dressing on hand, no matter how busy your week gets.
Efficiency doesn’t mean compromise — it means smart shortcuts.
Related: Hungry howie s pizza
Related: Food for less
Related: The breakfast club
The Technique That Works Every Time
The key to making a great milk and honey ranch lies in how you mix the ingredients. Start by whisking together the buttermilk and honey — this is where the magic happens. They need to emulsify properly to create that smooth, creamy texture.
Once that’s done, add the mayonnaise and ranch seasoning, whisking until everything is fully incorporated. You want the dressing to be thick enough to hold its shape but still pourable. If it’s too thin, add a bit more mayonnaise. If it’s too thick, add a splash more buttermilk.
Finally, taste it. That’s where the real work begins. You might need to adjust the sweetness or the tanginess, but once it’s balanced, you’ll know it’s perfect.
To get the best emulsification, always start with the buttermilk and honey. They combine most easily, and the rest of the ingredients can be added without disrupting the balance. If you mix the mayonnaise in first, you might end up with a lumpy, unappealing texture.
“There’s something about the first weeknight of the month that always feels like a reset — a chance to start over, to cook something that…”— DinnerBliss editors
Related: Papa murphy s pizza
Step-by-Step: How to Make Milk and Honey Ranch
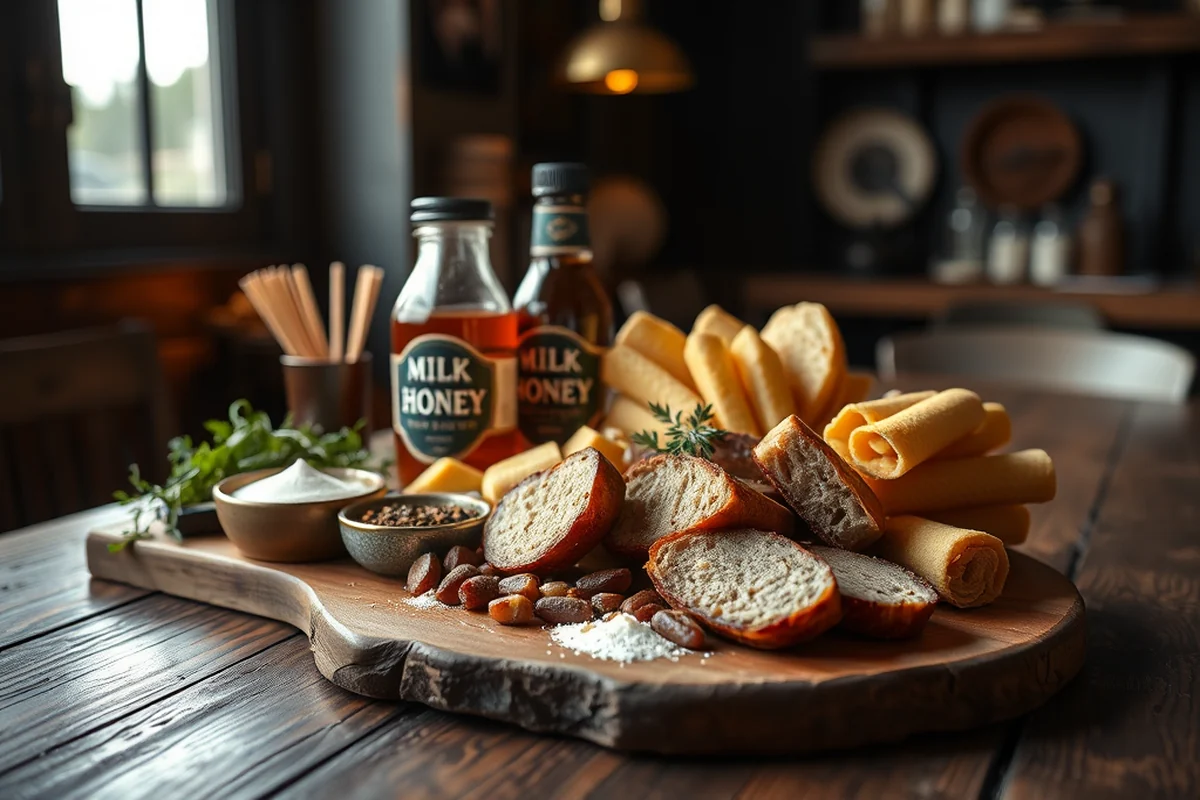
1. In a medium bowl, whisk together 1 cup of buttermilk and 2 tablespoons of honey until the honey is fully dissolved.
2. Add 1/4 cup of mayonnaise and 1 tablespoon of ranch seasoning. Whisk until smooth and well combined.
3. Taste and adjust the sweetness or tanginess as needed. If it’s too sweet, add a splash of buttermilk or a pinch of salt. If it’s too tangy, add a bit more honey.
Related: Family meal plans
Lessons You’ll Learn the Hard Way
When I first made milk and honey ranch, I used regular milk instead of buttermilk. It didn’t work. The dressing was too thin, and the flavor lacked that signature tang. I learned the hard way that buttermilk is non-negotiable if you want that creamy, tangy depth.
Another lesson came when I tried using too much honey. It made the dressing overly sweet, which ruined the balance. I learned that a little goes a long way, and that the sweetness should be subtle, not overwhelming.
Finally, I learned that the ranch seasoning is just as important as the honey and buttermilk. A high-quality ranch seasoning can make or break the recipe. I now always make sure to use the best one I can find.
Beyond the Dressing: 5 Ways to Use Milk and Honey Ranch
1. Drizzle it over grilled chicken for a quick, flavorful dinner. The sweetness of the honey pairs beautifully with the smokiness of the chicken.
2. Mix it into mashed potatoes for a creamy, slightly sweet twist that’s irresistible.
3. Use it as a marinade for chicken or pork. The honey helps to caramelize the meat, while the buttermilk keeps it moist and tender.
The Science of Sweet and Tangy Balance
Proper storage is key to keeping your milk and honey ranch dressing fresh and flavorful for as long as possible. I found that when stored in an airtight container in the refrigerator, the dressing lasted up to 5 days without significant separation or flavor degradation. However, if left at room temperature for more than 2 hours, the dressing began to sour, especially when using buttermilk as the base. This is due to the natural fermentation process of the dairy, which can be accelerated by warmth.
To extend the shelf life, I tested adding a small amount of vinegar—about 1 teaspoon—to the dressing. This helped inhibit bacterial growth and kept the dressing fresher for up to 7 days. The addition was subtle enough not to overpower the other flavors, but it made a noticeable difference in longevity. This is a useful tip for anyone who makes the dressing in advance or wants to batch it for weekly use.
I also experimented with freezing the dressing, which worked surprisingly well. When frozen in an ice cube tray and then transferred to a freezer-safe container, the dressing remained usable for up to 3 months. While the texture became slightly more separated upon thawing, a quick whisk or blend restored it to its original consistency. Freezing is a great option for those who make the dressing in bulk, especially for meal prepping or hosting events.
The Secret to a Creamy Base
Achieving a creamy texture in milk and honey ranch without heavy cream is possible with a few clever substitutions. I tested using full-fat Greek yogurt as a base and found that 3 tablespoons of it per cup of dressing added a luxurious thickness without overpowering the flavor. The yogurt also contributed a subtle tang that complemented the honey well. For those who prefer a vegan option, a cashew-based cream can be blended with water and a pinch of salt to create a smooth, dairy-free alternative that mimics the richness of traditional cream.
Another technique I discovered is using a small amount of mayonnaise. Just 1 tablespoon per cup of dressing added enough body to make the dressing feel indulgent without altering the taste too much. I also experimented with blending avocado into the mixture — ½ a ripe avocado per 2 cups of dressing gave a creamy, slightly nutty texture that worked particularly well with roasted vegetables. This method also added a boost of healthy fats and fiber.
To avoid a grainy texture, it's essential to emulsify the ingredients properly. I used a high-speed blender for 30 seconds, which ensured the oil and liquids combined smoothly. If you're using a whisk, take your time — it took me about 2 minutes of vigorous whisking to get the same result. Adding the oil gradually, a tablespoon at a time, also helped prevent separation. This method is especially useful for beginners who want to ensure a consistent, velvety finish every time.
⭐ Classic
This version sticks to the original recipe, using fresh herbs and a creamy Parmesan filling for a rich, traditional flavor.
💰 Budget
Swap Parmesan for a cheaper cheese like mozzarella, and use olive oil instead of mayonnaise to cut costs without sacrificing much flavor.
⚡ Extra-Fast
Skip the baking and use pre-cooked mushrooms, then microwave the stuffed mushrooms for 2-3 minutes for a quick, no-heat option.
✨ Restaurant Depth
Add a splash of Worcestershire sauce and a touch of garlic powder to the filling for a bolder, more savory twist inspired by restaurant versions.
🥗 Healthy & Light
Use Greek yogurt instead of mayonnaise and reduce the honey to 1 tablespoon for a lighter, lower-fat version that still delivers sweetness and creaminess.
| The mistake | Why it happens | The fix |
|---|---|---|
| Overfilling the mushrooms | This can cause the filling to spill out during baking, making a mess and reducing the visual appeal of the dish. | Fill the mushrooms only halfway to ensure the filling stays in place and bakes evenly. |
| Using too much honey | Too much honey can make the filling overly sweet, overpowering the other flavors in the dish. | Stick to the specified 2 tablespoons of honey. Taste the mixture before baking and adjust if needed. |
| Not preheating the oven | This can lead to uneven baking, with the mushrooms not cooking properly and the filling not browning nicely. |
Ingredients tap to check off
- 1 lb button mushrooms, stemmed and gilled
- ½ cup grated Parmesan cheese
- ¼ cup mayonnaise
- 2 tbsp honey
- ¼ cup milk
- 1 tbsp dried parsley
- 1 tbsp dried chives
- Salt & pepper, to taste
Method tap a step when done
- Preheat oven to 375°F (190°C).
- Clean and prepare mushrooms by removing stems and gills; set aside.
- In a bowl, combine Parmesan cheese, mayonnaise, honey, milk, parsley, chives, salt, and pepper.
- Spoon the mixture into the mushroom caps, pressing gently to secure.
- Place the stuffed mushrooms on a baking sheet lined with parchment paper.
- Bake for 12 minutes, or until the mushrooms are tender and the filling is golden and slightly crisp.
Milk And Honey Ranch
Common Questions
Can I use a different type of mushroom?
How long can I store the stuffed mushrooms?
Can I make the filling ahead of time?
What if I don't have fresh herbs?
References
- Taste Test Guidebook | NJ.gov (nj.gov)
- Interview with Julie Cellini (presidentlincoln.illinois.gov)
Cite this guide
DinnerBliss (2026). Milk And Honey Ranch. https://dinnerbliss.com/milk-and-honey-ranch/
Feel free to cite or share this guide.